Saturday, January 7, 2012

Eggplant Lasagna


So I kind of did something...something that I do from time to time while cooking...Completely misread and/or accidentally omit something important from a recipe. Last time, it was with Stovetop Lasagna, which, wasn't even supposed to be stovetop lasagna. It was supposed to be lasagna soup. However, I may or may not have misread the amount of chicken broth to use, and, errr, umm...yeah...I ended up with something completely different, yet totally delicious.

This is one of those times. Those happy accidents, where, even if you completely did not follow the recipe properly, you end up coming up with something even better (or just as good, as the very least). While I'm still a little resentful that John helped me by taking pictures as I was slicing eggplant - only to tell me they were too thin after I finished slicing it all - I'm glad this recipe ended up being so tasty! While I still want to figure out a lighter way to cook the eggplant, I know this will be made again. :)

Click for more lasagna recipes on Call Me Mrs. Rapp: White Chicken Lasagna, Meat and Cheese Lasagna, Stovetop Lasagna, Roasted Butternut Squash and Sweet Potato Lasagna

I adapted this from that wonderful cookbook John's mom got me: The Illustrated Kitchen Bible. However, as I mentioned above, this recipe as a happy accident and you will not find it in its entirety in the book. Below is my recipe. 

Eggplant Lasagna
Recipe by Call Me Mrs. Rapp; Adapted from The Illustrated Kitchen Bible
Yields 1 lasagna 
Pin It
Ingredients:
*2 large eggplants, cut length-wise into slices (aim for 12-14 slices total)
*1/2 cup whole wheat flour
*3 large eggs, beaten
*2 tbsp. olive oil (or more as desired/needed)
*2 2/3 cups tomato sauce (store-bought or click here for my simple tomato sauce recipe)
*8 oz. fresh mozzarella cheese, drained and sliced and divided in thirds
*1 cup parmesan cheese, grated
*1/3 cup basil leaves, chopped
*salt and pepper

Preparation:
*Preheat the oven to 325 degrees F. 

*Create a dipping station for flour and eggs: put flour on plate and eggs in a bowl, seasoned with salt and pepper.

*One at a time, dredge each eggplant slice through flour, then egg mixture, allowing excess to drip back into bowl (or, like me, use your fingers to slosh off the extra).

*Heat 1/2 tbsp. olive oil in a large skillet. Working in batches, fry the eggplant for about 2-3 minutes on each side, or until golden. Drain well on paper towels. (*With each batch, add 1/2 tbsp. olive oil to skillet before eggplant - - I needed 4 batches.)

*Once eggplant is done, layer the following in a casserole or lasagna dish: 2/3 cup tomato sauce, 4 eggplant slices, mozzarella cheese, 1/4 cup Parmesan cheese and basil. Repeat 2 times, for a total of 3 layers. After the third layer, add 2/3 cup sauce, plus remaining 1/4 cup Parmesan cheese.

*Bake for 25-30 minutes, or until the sauce is bubbling and the cheese has melted. Allow to sit for about 5 minutes before slicing and serving.

my thinly-sliced eggplant

please note the huge mess around me as I cut the eggplant...when I cook it is not pretty

all the eggplant slices

dredging through whole wheat flour

golden and slightly crisped on the outside

Ready for the oven!

out and ready for serving...yum!

close-up of John's big serving

and now mine! great with a side salad with simple vinaigrette

view from the side

one more shot!

Simple Tomato Sauce


You put the lime in the coconut and mix it all up...

No? You don't want to hear that song? The one where I don't even know the title or singer and am too lazy to bother Googling it, even though I sit at my computer right now?

Hmm...that's a shame...Because that's all I've got at the moment.

Well, to make this short and sweet, this recipe is super, super simple, yet super, super delicious! Use it for pasta dishes - over noodles, in lasagna, or in Eggplant Lasagna! Whatever route you take, this will be tasty and easy. What more could you ask for? Besides no extra preservatives and knowing everything that is going into what you are eating...Oh. Just that. :)

I made a double batch of this sauce and so that is the recipe I am posting. I used half of this for Vegetarian Eggplant Lasagna and I froze the other half for later use. Feel free to half this recipe to meet your own needs. Or, freeze some for a lazy rainy day. :)

Simple Tomato Sauce
Recipe by Call Me Mrs. Rapp
Yields about 5-6 cups of tomato sauce  
Pin It
Ingredients:
*2, 28-oz. cans of diced or crushed tomatoes (diced will give you a chunkier sauce)
*4 garlic cloves, minced or finely chopped
*1/4 tsp. crushed red pepper flakes (if making for children I would omit this)
*1 tsp. salt
*1/2 tsp. pepper
*1 tsp. oregano
*8-10 good-sized basil leaves, chopped or torn (or more!)
*1-2 tbsp. brown sugar
*2/3 cup red wine (I used cheap reasonably-priced Cabernet)
*1 tsp. olive oil

Preparation:
*Place olive oil, garlic and crushed red pepper flakes in a saucepan. Allow them to cook until you hear the garlic sizzle and pop.

*Add tomatoes, garlic, oregano, salt, pepper, brown sugar and red wine to the saucepan. Bring contents to a boil, then reduce to a simmer, stirring as needed.

*Simmer until you are ready to serve or use in another dish. (Note: The longer you simmer the more the flavors will have time to develop). Adjust seasoning as you would like.

garlic and red pepper first

sizzle!

plus tomatoes

basil! mmm :)

fuzzy...but plus basil, seasonings, wine, and the like!

sauce not used in eggplant lasagna was bottled and frozen...thanks to Newman's Own for the bottle! (the ONLY pre-made pasta sauce I will eat, and even that's been over a year ago)

Thursday, January 5, 2012

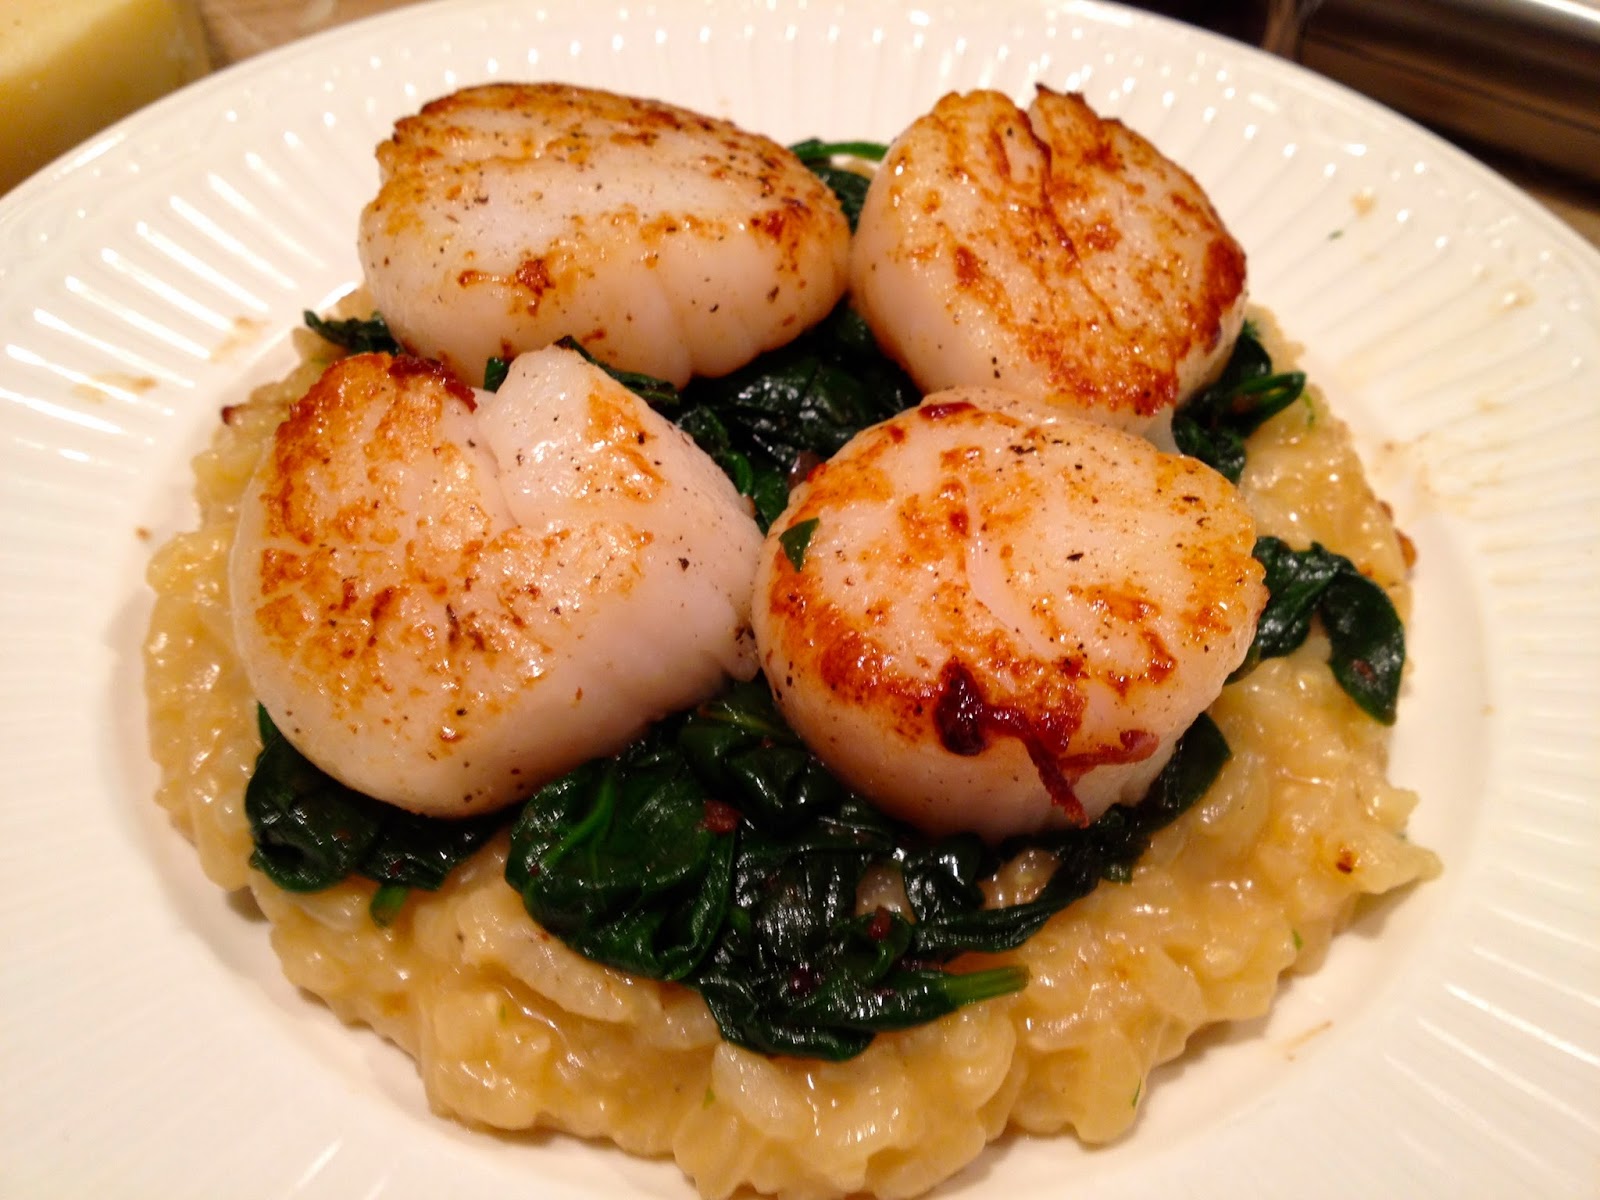
Seared Scallops over Spinach & Parmesan Risotto


Oh.My.Goodness...This recipe. Wow. I soooo wish I could take credit for how delightful this dish is. I really, really do. I wish I had changed the recipe up a lot so I could tell you how awesome my changes were. But, no. This recipe, courtesy of skinnytaste.com and found here, is pretty much perfect as it stands.

This dish was warm, creamy and full of great flavor. The hubby continued to exclaim how awesome it smelled while I was cooking, and then proceeded to tell me how amazing this was the rest of the night. Like I said, I wish I could take credit for this greatness. But I didn't ruin it, so that's got to count for something, right?

Anyhoo, in spite of the directions looking long, I promise this is not a difficult recipe at all. Not only did I not stir continuously while cooking the risotto, I was pretty low-key while making it. And it was simple. And insanely delicious. So make this. Make it now.

On a side note, I want to let you know that the pictures I took were not of my serving, but of the hubby's. While I ate just as many scallops (plus two more...), I served myself a lot less of the risotto (about 1/4 cup for me vs about 1 cup for John). I found it just as enjoyable, but without any guilt. This dish lists calorie information on link above with the original recipe. Enjoy!

Seared Scallops over Spinach & Parmesan Risotto
Recipe by skinnytaste.com
Serves 4 
Pin It
Ingredients:
*16 oz. sea scallops
*1 cup arborio rice
*3 tsp butter
*2 shallots, minced (but keep separate because one is for risotto and the other for scallops!)
*1/2 cup white wine
*4 cups fat free, sodium free chicken stock
*salt and pepper
*1/4 cup grated parmesan cheese
*2 tbsp chopped parsley
*1 tsp. olive oil
*6 oz. baby spinach (or more if you'd like - my bag was 6 oz)

Preparation:

For Parmesan Risotto:
*Heat chicken stock in a small pot.

*In a medium size heavy sauce pan, add butter on medium-low heat. Add shallots, saute about 1 minute. Add rice mixing well until well coated and translucent, about 2 minutes. 

*Add wine, salt and pepper and mix well until it is absorbed into the rice. Ladle 1 cup stock into rice and mix until all stock is absorbed. Add another ladle, and continue adding and stirring until all broth is absorbed, about 20-25 minutes.

*Add parmesan cheese and parsley, mix well and serve.

For Scallops and Spinach:
*Wash scallops and pat dry with a paper towel. Season with salt and pepper.
 
*Heat a medium size pan on a high flame. When pan is hot, melt 1 tsp butter and place half of the scallops in the pan. Sear without touching them for a few minutes until the bottom forms a nice caramel colored crust.

*Turn over and cook about another minute or 2, until the center is slightly translucent (you can check this by viewing them from the side) and the bottom is seared. Be careful not to overcook.  
*Remove from the pan and set aside on a warm plate. Add addition tsp butter and cook remaining scallops.

*Add olive oil to the pan and sauté shallots. Add spinach, salt and pepper. Toss until spinach wilts.

*Serve over spinach over risotto topped with scallops.


rice, butter, shallot combo

add wine and salt and pepper (obviously before it was absorbed)

Scallops!

Adding parsley and Parmesan to risotto...it's a little fuzzy because of the steam

wilted spinach...note it will shrink A TON when you cook it!
Parmesan Risotto...so creamy
now add spinach
Look at this combination of tastiness
Be sure you get a little bit of everything in each bite!
YUM! Make this NOW!


Circuit Arm Workout

I have something new to share today! Not a recipe or design idea - might have to change the blog header if I keep this up - but an arm workout. (gasp!)

If you read my post about resolutions, you know that I joined a gym in November. Part of my membership came with a few free personal training sessions, and I've invested a bit and continue to see my trainer to help me stay on track to meeting my fitness goals. She's the best, and his workout is courtesy of her! She has been so motivational during our workouts, and I can hardly believe we've spent an hour working out when time is up because I've had so much fun. Who doesn't love to laugh during a tough workout?

Hopefully you won't disown me for posting a workout, but this arm workout is too good not to share. It will be tough (or was for me the first few times) and will definitely leave your arms sore, but I think you'll really like it.

PS: I've linked every exercise to a site with video guides and instructions! 

*Disclaimer: I am not a health professional.  I am writing about my own life experiences and what works for me.  For concerns about your own health and diet, please discuss with your doctor.*


Circuit Arm Workout!
Pin It
(Rest between each set for 60 seconds)

Set 1 (15 reps for each exercise):
*4-way Bar Routine
1. Bent Over Row
2. Upright Row
3. Bicep Curls
4. Military Press
*Assist Tricep Dips
*Pec Flys

Set 2 (15 reps for each exercise; or 10 reps for each):
*4-way Bar Routine
1. Bent Over Row
2. Upright Row
3. Bicep Curls
4. Military Press
*Assist Tricep Dips
*Pec Flys

Set 3 (15 reps for each exercise; or 5 reps for each):
*4-way Bar Routine
1. Bent Over Row
2. Upright Row
3. Bicep Curls
4. Military Press
*Assist Tricep Dips
*Pec Flys

Niçoise Salad


Happy new year (a few days late)! I hope you all had a wonderful holiday, and I am back to blogging (have you noticed?)! I kind of fell off the map as we got to Christmas break because we were so busy getting ready and traveling for the holidays. We went to Lexington to watch John's sister graduate from college, and we also went to Chicago for several days to see my family. We made it back late Christmas night in time to celebrate with John's family. We had a truly wonderful holiday.

However, in going home to Chicago I indulged way too much with all the amazing home cooking! I definitely needed to get back on track with working out and eating healthy (while indulging in moderation!), as I mentioned in my post about Resolutions. This salad was a great start to getting back to my routine.

I adapted this recipe from The Illustrated Kitchen Bible. John's mom saw this in Napa and grabbed it for me because there is a picture of every single dish! She knows how I love having pictures of food before I make it (and after as you can clearly tell!), and this book was perfect! It was so many yummy recipes that I'm going to be trying out in the near future. Not to mention it gives you great step-by-step tips for things like how to make an omelet, cooking meat, etc.

I changed up this recipe to meet our taste preferences and also to use what I had in the fridge. I am very glad I changed the dressing up, too, because it was perfect! Such a nice and filling dish without being heavy. John texted me at work to tell me "That was a good salad! I legit really liked it! GREAT dressing!" So there you have it. Perfect way to get on track for the new year. Cheers!

Niçoise Salad
Recipe by Call Me Mrs. Rapp; Adapted from The Illustrated Kitchen Bible
Serves 4, depending on portions
Pin It
Ingredients:
*lettuce (I used a whole bag of spring mix, but romaine would be nice too)
*2 tuna steaks
*3 hard-boiled eggs, sliced in half
*6 asparagus spears, cooked & sliced in half (original recipe calls for green beans)
*8-10 fresh basil leaves
*grape tomatoes, sliced in half (I didn't have these but it's in original recipe and would be great)
*1/2 cup olive oil
*2 tbsp. red wine vinegar
*1 tbsp. white balsamic vinegar
*1 clove garlic, minced
*2 tsps. dijon mustard
*salt and pepper

Preparation:
*Preheat an outdoor grill or indoor grill pan (my burners were on medium-high). 

*Drizzle olive oil and salt and pepper on both sides of tuna steaks. Grill tuna -for about 2-2 1/2 minutes on each side. You want the inside to be warm but light pink.

*For dressing: Combine vinegar, garlic and dijon mustard in a small bowl using a whisk. Once combined, slowly add olive oil, whisking as you pour. 

*Toss lettuce, basil, asparagus, tomatoes and dressing together. Add hard boiled egg slices to each salad bowl/plate, and top with tuna steak.

*Enjoy!

first side done! (thankful for the hubby fanning our smoke detector because this grill pan smokes up the place!)

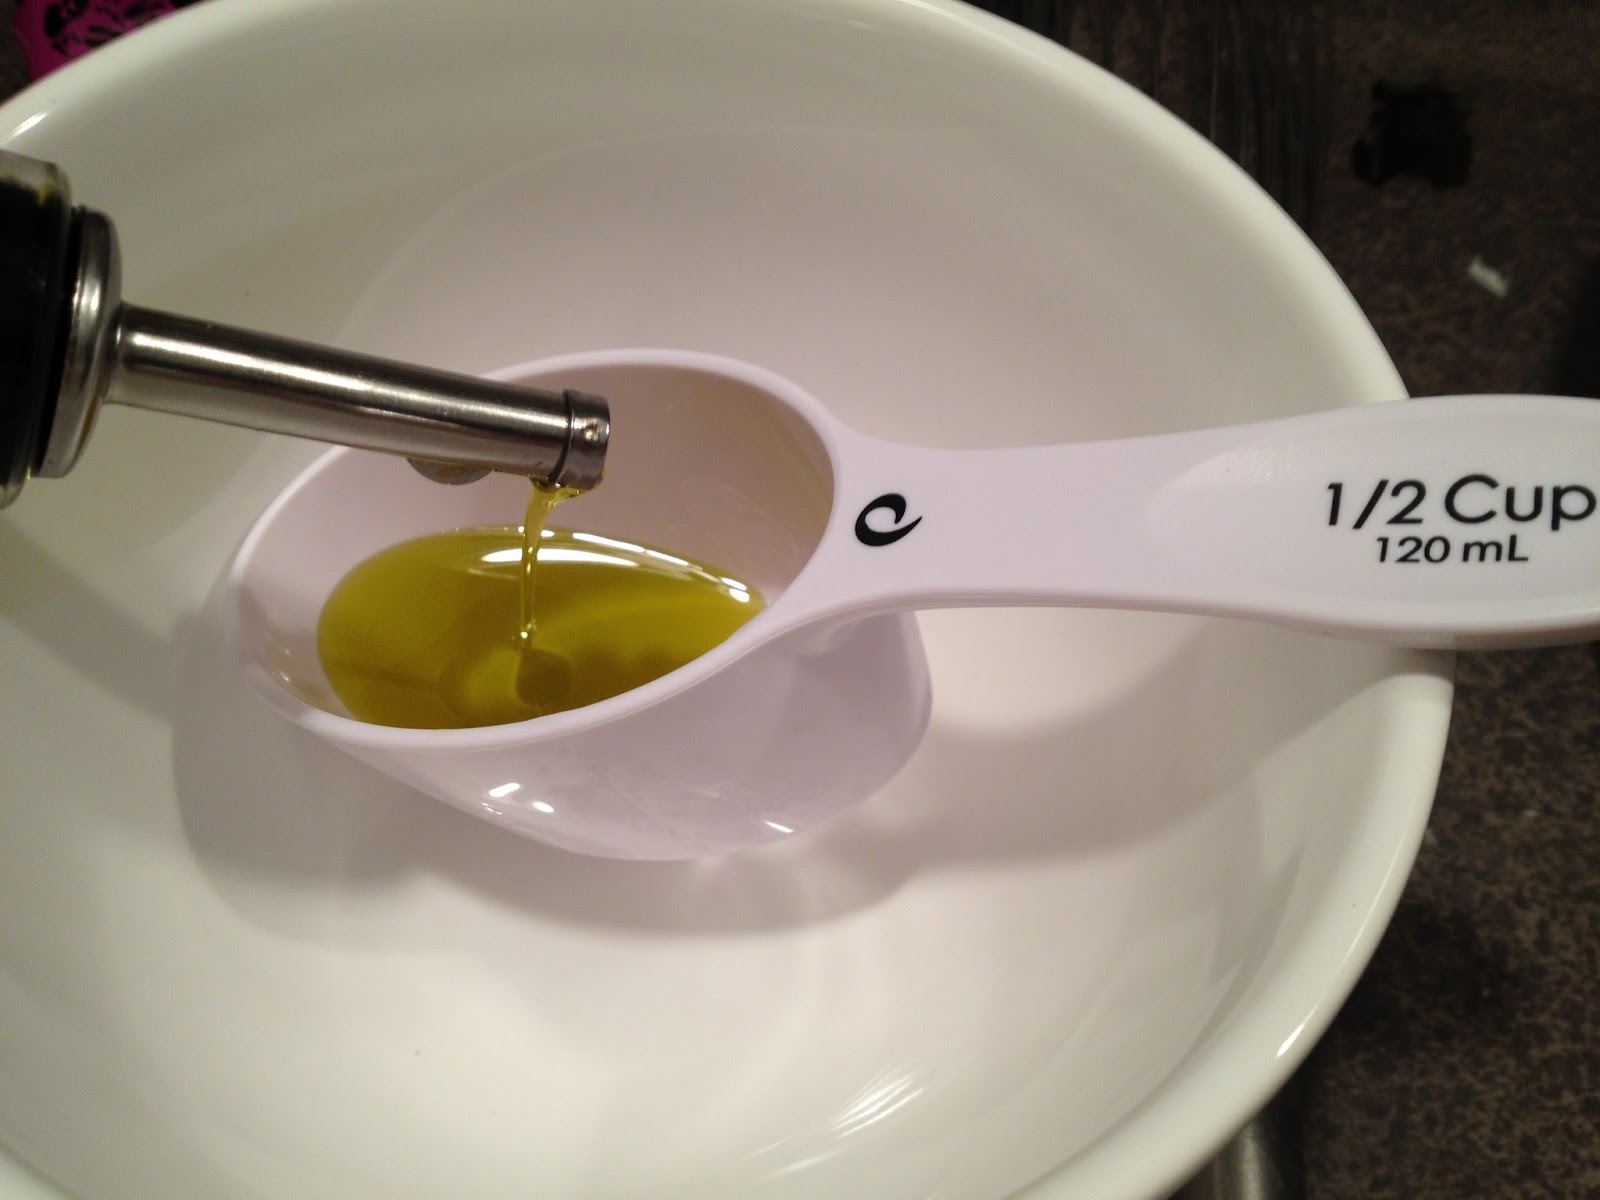
Note: If you use one of these cute olive oil holders, it will take forever to pour it into this cup and your arm might feel like falling off after completing a circuit arm workout leaving your arms feeling like jello.

dressing!
dressing is on, ready to toss
ta-da! tomatoes would make this so much prettier...

mmm
salad without tuna!

I put my tuna on the side and picked up a bite before each bite of salad. Perfect!

Tuesday, January 3, 2012

Resolutions

It's January and that time of year where everyone is brimming with their New Year's Resolutions. I think it would be safe to surmise that many people have the goal to lose weight, get in shape, live a healthier lifestyle, etc. Each of those would be an excellent resolution to accomplish.

Problem is, in my opinion, sometimes the pressure of resolutions can lead people to fail. By mid-February, your enthusiasm may have faded, or perhaps you're not seeing the results as quickly as you'd like.


In case you hadn't noticed, I've never posted a workout. I may have mentioned one on occasion, but never do I post about them.  Until recently (err November), I did not have an exercise routine. In fact, I used to get so annoyed when people would post about how awesome they felt after exercising. I thought they were full of hooey.

Turns out? After 2 months of dragging my sorry behind to the gym 4-6 times a week, I actually enjoy it! I've become one of those people. Thanks, in part, to my friend Jourdan, who posted about why she exercises and why she eats healthy awhile back. It got me to thinking about how I wanted to feel good about taking those healthy living steps, and soon thereafter I joined a gym.

I found out that while I never really want to go, once I'm there I'm so glad I made it. The only way I make it to the gym during the week is for me to have my gym bag in my car and ready to go straight from school. If I go home first there is no way I will make it back out and to the gym.

So true, Pinterest.
Something else I've found? When I go to the gym regularly, I eat much healthier. I think it's because I am so proud of the hard work I did exercising that I don't want to ruin it by eating a box of cookies. Exercising motivated me to eat those foods without guilt in the beginning, but now I'm enjoying my healthier eating habits and how they make me feel.

...and indulging, in moderation, from time to time :)
I did fall off the wagon over Christmas break, but I'm back on now. Join me!

*I am not a health professional.  I am writing about my own life experiences and what works for me.  For concerns about your own health and diet, please discuss with your doctor.*

Baked Mac 'n Four Cheeses


I had a funny conversation with my friend Rachael a little bit ago and I decided I would share it with you. Because you're super interested, right? Eh, well here goes either way. Apparently she and her boyfriend were talking about dinner one night and were wondering what I was making. Rachael guessed something with "three cheeses", and shortly thereafter I happened to post this Three-Cheese Queso recipe.

Then I started looking at my other recent posts, including Gnocchi Mac 'n Cheese, which, also had three cheeses. Apparently I have a pattern. So, just to prove I can be different, I came up with a recipe that uses four cheeses. Ha! Bet you didn't see that one coming...

Or maybe you did because I make dishes with cheese so often. I can't help it. I love cheese. It should be it's own food group in my opinion, which further supports my notion that I should move to France where I can walk, experience culture, and, oh...eat lots of bread and cheese.

Baked Mac 'n Four Cheeses
Recipe by Call Me Mrs. Rapp; adapted from Gnocchi Mac 'n Cheese
Serves 4, depending on portions
Pin It  
Ingredients:
*1/2 pound whole wheat whole grain pasta (I used half a 16-oz. box of elbow noodles)
*2 tablespoons butter
*4 teaspoons garlic, finely chopped
*2 tablespoons flour
*1 1/2 cup milk (I used skim)
*2 teaspoons Dijon mustard
*2/3 cup shredded sharp cheddar cheese (I used NY and WI white cheddar)
*2/3 cup shredded Gruyere cheese
*1/3 cup shredded Parmesan
*4 tbsp. goat cheese
*salt and pepper to taste
*1/2 cup panko bread crumbs
*a few dashes of dried rosemary (optional)

Preparation:
*Preheat oven to 375 and spray a baking or casserole dish with nonstick spray.

*Prepare the pasta according to the package directions. Drain well, and place as one layer in whatever dish you're using.

*Melt the butter in a saucepan over medium heat. As soon as it is all melted, add in your garlic. Whisk continuously for about 30 seconds, or until the garlic starts smelling really good.

*Whisk in the flour, and continue whisking until it thickens and bubbles.

*Then whisk in the milk and the Dijon. Continue whisking occasionally for about 3-5 minutes--the sauce should be thickening at that point.

*While you are whisking, start adding clumps of your cheese mixture into the sauce. Every time it is fully melted into the sauce, add another handful until you've gone through all your cheese. Add the goat cheese last.

*Season the sauce with salt and pepper to taste, then pour it over the pasta. Sprinkle the top with Parmesan cheese and panko bread crumbs, plus a few shakes of dried rosemary (it adds a really nice flavor).

*Bake for about 20-25 minutes, or until it's all nice and bubbly and golden.

*Let stand for about 5 minutes before serving.

all the cheese! (obviously not all of each chunk

butter, flour and garlic

cheese time!

the sauce (sorry it's so fuzzy!)
Baked and ready

scooping it out!
Cheesy :)

I just loved how creamy this was. Not to mention the bread crumbs and rosemary on top...easily the best part.

Related Posts Plugin for WordPress, Blogger...